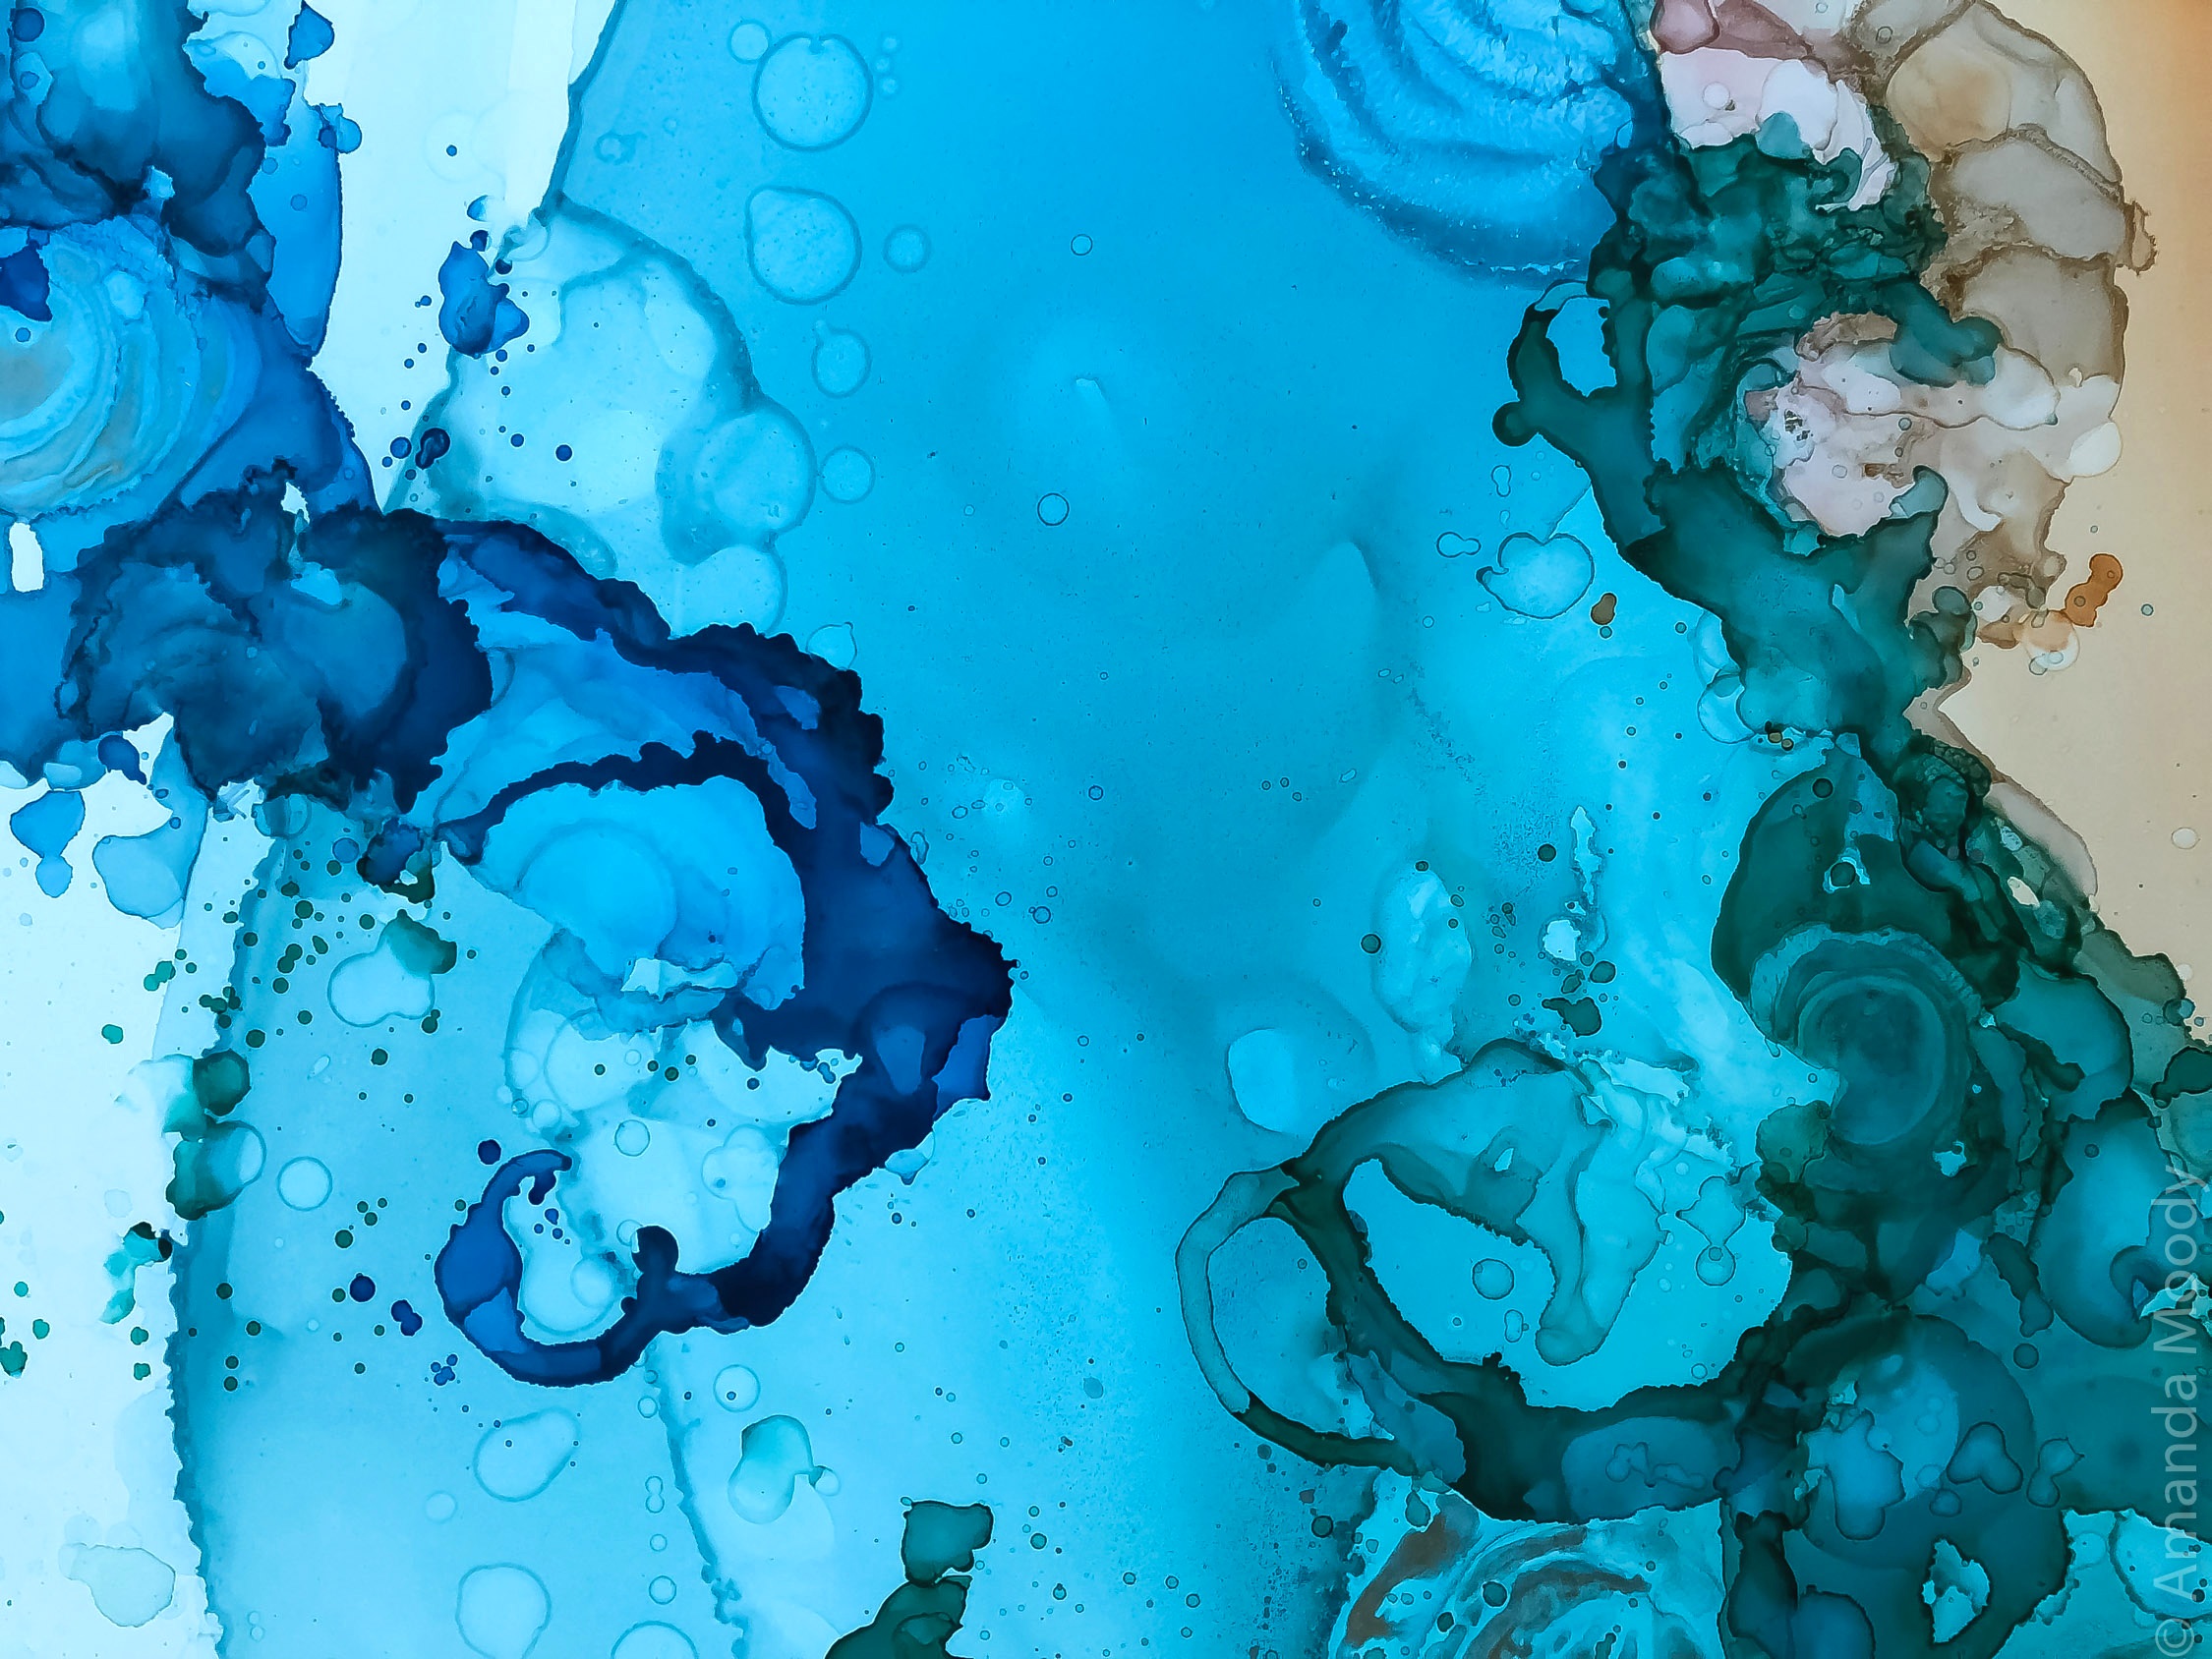
I am a mixed media artist, and by that, I mean there are any number of materials included in each of my paintings…and no, I don’t mean dog hair! If you have been following my work for a while, you probably have noticed that my style is very fluid for the most part. One of my favorite mediums to use is alcohol ink. Although it is not a classical material and I do not use it in every single painting of mine, I have included it in hundreds of pieces to date. To this day, it remains one of my all-time favorites. Alcohol inks have the capability of producing the most hypnotic and trippy effects IF you have the patience to manipulate them and allow them to do their own thing, simultaneously. Confusing?
I would say that some of the most common questions that I am asked by other artists are those that involve my technique and process on using these finicky little inks. They can certainly be overwhelming and create a giant muddy mess if you aren’t familiar with how they work. Here are a few pointers that I have discovered that may help you along your way in figuring out your own style while using this unique medium.
Alcohol inks literally behave as if they have a mind of their own. It is this lack of control on my part as an artist that I had to learn to embrace. I have always been an acrylic, watercolor and oil artist historically speaking, but when I discovered these inks a few years ago, I was immediately intrigued by their flow and swirly, ever-changing effects. Alcohol inks are just that: pigment suspended in isopropyl alcohol. The thinning medium that needs to be used to stretch out their volume is also isopropyl alcohol, specifically with a percentage of 70% or higher. The higher the percentage, the slower the inks take to dry, which is wonderful from a workability standpoint, but can be challenging in the patience department (cue Guns N Roses now).
The inks that I choose to use are Tim Holtz Ranger inks by Ranger. Their range of color is right up my rainbow-loving alley; They offer the widest color palette of any alcohol inks I have found to date. Ranger’s inks also are the smoothest and most non-separating I have found as well. Please note that I am not affiliated with Ranger…I just really, really dig their product!
Waiting. And waiting.
Alcohol inks need to be used on a non-porous surface to maximize their fluidity. That being said, in my mind, art doesn’t really have any rules…BUT I am speaking here from the assumption that I am giving pointers based on my own technique, which is highly fluid. Some wonderful non-porous surfaces I have used are Ampersand’s Claybord, which is my absolute favorite surface to paint on regardless of medium. You can read more of my glowing recommendation of this fabulous product HERE in my Holy Grail Art Supply List (again…no official affiliation, I just like to spread the love for my fave materials!). I have also used alcohol ink successfully on ceramic, polypropylene paper, sheet metal such as aluminum or copper, plexiglass, and glass.
Would you believe this tiny lil’ thing was my first completed alcohol ink piece? Circa 2014…there has been a lot of trial and error since then. READ: LOTS of error!
One important factor that I need to point out is that these inks change drastically in their behavior as they begin to dry. For instance, if you add a drop of 70% alcohol to a drying puddle of thinned ink at the beginning, it will produce a completely different effect if you do the same after the ink congeals a while. It will also produce a different effect if you use an even higher percentage of alcohol.
Once the alcohol medium begins to evaporate, the pigment that’s left gels and can become almost sculptural. It is because of this factor that alcohol inks truly require a ton of patience…you will have to experiment tirelessly to figure out which techniques and timing work best for you as an artist. Start small, and be prepared for lots and lots of waiting. And waiting. And restraint. This is one of the reasons why I am usually working on more than one painting simultaneously…to keep myself from overworking one painting at any given time.
Varying effects are achieved at different stages in the drying process. Hands off, Mandy!
Each different combination of ink colors will produce varying effects as well. For instance, one blue shade mixed with a specific yellow shade might make green, but as the ink dries and separates from the alcohol, it may ALSO produce a third color such as pink or orange “laced” around the edges or in a halo beneath the surface. This may or may not be a good thing depending on what is your desired effect. When I am painting a commission, I always ask my clients if there are any colors they do NOT want to see…that way there are no unwanted surprises after I mix my inks and complete their color study.
First layers of alcohol ink in progress, including Cobalt Blue!
In that same vein, some lighter pigments can be “erased” simply by pouring alcohol on them, even once dry. Yet still, there are others that will almost immediately stain your surface permanently once they are applied. Ranger ink makes a shade of Indigo that my daughter has nicknamed “Takeover Blue,” because it does exactly that! You have to either use it super sparingly, or really be totally confident about where you want Indigo to appear. It’s simply gorgeous, but it ain’t going anywhere once it’s down. So, get to know your shades of ink and how each of them “behave” as well…each has its own personality!
“Sojourn” a completed mixed media and resin piece with alcohol inks as the initial layer.
If you are going to use other mediums along with your alcohol ink, it is important which order you place them in. If I am using alcohol inks, I always complete that portion of my paintings first. Then I might add thinner acrylic or ink washes, and finally thicker mediums and oil. If you use alcohol based mediums on TOP of any of the other materials, it can certainly create a gunky, flaky mess. So again…no rules, if you are hankering for a gunky/flaky painting, then have at it!
For archival purposes, always please please check your lightfastness levels in any materials you use. Always paint on an acid free surface, and ALWAYS use a UV protectant you want your work to stand the test of time. These little inks will then be a part of your art arsenal for ages to come!
Enjoy!
xoxo,
Mandy


